Table of Contents
Mastering the art of carving on a snowboard is one of the most fulfilling experiences for winter sports enthusiasts. It's a mesmerizing technique that provides a unique blend of control, grace, and speed. Whether you're a beginner or an experienced snowboarder, learning How to do a snowboard carve will elevate your riding experience and open up new possibilities on the snowy slopes. In this comprehensive guide by Kizworld, we'll take you through the essential steps, techniques, and exercises to execute a perfect snowboard carve.
How to Do a Snowboard Carve: Master the Art of Edge Control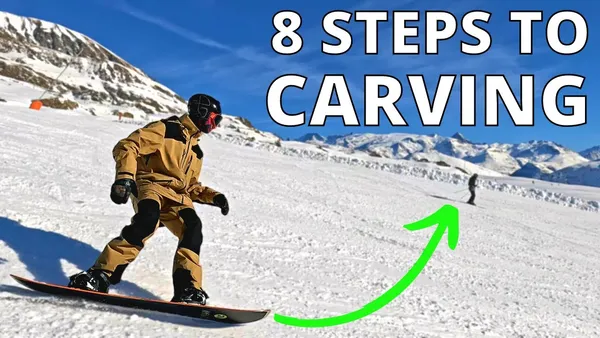
I. Finding the Right Conditions for Snowboard Carving
Finding the Right Conditions for Snowboard Carving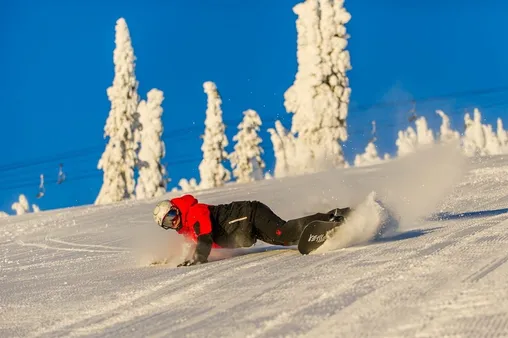
To execute a perfect snowboard carve, finding the right conditions is crucial. Here are some key factors to consider:
- Snow Conditions: Freshly groomed corduroy snow provides the ideal surface for carving. Avoid icy or slushy conditions, as they can make carving difficult and dangerous.
- Terrain: Gentle to moderate slopes are best for carving. Avoid steep or mogul-filled terrain, as they can be challenging and increase the risk of accidents.
- Weather: Clear and sunny days are ideal for carving, as they provide good visibility and allow you to see the terrain clearly. Avoid carving in poor visibility conditions, such as fog or heavy snowfall.
By considering these factors, you can increase your chances of finding the perfect conditions for snowboard carving and having a safe and enjoyable experience.
Here are some additional tips for finding the right conditions for snowboard carving:
- Check the snow report: Before heading to the mountain, check the snow report to get an idea of the current conditions. Look for reports that mention freshly groomed corduroy snow.
- Talk to the locals: If you're unsure about the conditions, talk to the locals at the mountain. They can give you valuable insights into the best places to carve.
- Be flexible: If the conditions aren't ideal, be flexible and adjust your plans. You may need to find a different slope or wait for the conditions to improve.
With a little planning and effort, you can find the perfect conditions for snowboard carving and have an unforgettable experience.
Related Posts:
- How to Choose the Right Snowboard for Your Skill Level and Style
- The Benefits of Snowboarding for Fitness and Fun
- The Best Snowboarding Equipment and Accessories
II. Steps on How to do Snowboard Carve
Steps on How to do Snowboard Carve
Stance
A proper stance is crucial for maintaining balance and control while carving. Your feet should be shoulder-width apart, with your front foot slightly angled forward and your back foot slightly angled back. Your knees should be slightly bent, and your weight should be evenly distributed between your front and back foot.
- Related Post: How to Choose the Right Snowboard for Your Skill Level and Style
- Related Post: The Benefits of Snowboarding for Fitness and Fun
Balance
Maintaining balance is essential for executing a successful carve. Keep your weight centered over your board and avoid leaning too far forward or back. As you transition from one edge to the other, shift your weight smoothly to maintain stability.
Tip | Description |
|---|---|
Bend your knees | Bending your knees helps absorb shock and maintain balance. |
Keep your core engaged | Engaging your core muscles helps stabilize your body and improve balance. |
Look in the direction you want to go | Looking in the direction you want to go helps you stay focused and maintain balance. |
Weight Distribution
Proper weight distribution is key to controlling your snowboard and executing a clean carve. As you initiate the carve, shift your weight to your front foot to engage the edge and start the turn. As you complete the carve, shift your weight back to your back foot to exit the turn and maintain control.
- Related Post: The Best Snowboarding Equipment and Accessories
- Related Post: How to Improve Your Balance, Coordination, and Endurance with Snowboarding
III. Common Mistakes to Avoid When Snowboard Carving
Not picking the best Learning Environment
Choosing the right learning environment is crucial for successful snowboard carving. Avoid slopes that are too steep or icy, as these can be dangerous and make it difficult to learn. Instead, opt for gentle slopes with soft snow, which will provide a more forgiving and enjoyable learning experience.
- Choose gentle slopes with soft snow.
- Avoid steep or icy slopes.
- Consider taking lessons from a qualified instructor.
Not Working On Basics First
Before attempting to carve, it's essential to master the basics of snowboarding, such as maintaining balance, controlling your speed, and turning. Focus on developing these fundamental skills before moving on to more advanced techniques like carving.
- Master the basics of snowboarding first.
- Practice maintaining balance and controlling your speed.
- Learn how to turn properly.
Trying To Go Fast During Carves
Going too fast while carving can be dangerous and make it difficult to control your board. Start by carving at a slow speed and gradually increase your speed as you become more comfortable and confident.
- Start by carving at a slow speed.
- Gradually increase your speed as you become more comfortable.
- Avoid going too fast, as this can be dangerous.
Applying Pressure On The Wrong Side Of The Board
When carving, it's important to apply pressure on the correct side of the board. If you apply pressure on the wrong side, you will lose control and may fall. Make sure to apply pressure on the downhill edge of the board.
- Apply pressure on the downhill edge of the board.
- Avoid applying pressure on the uphill edge of the board.
- Keep your weight centered over the board.
Not Loosening Up While Trying To Carve
Many beginners make the mistake of trying to carve too stiffly. This can make it difficult to control your board and can lead to falls. Instead, try to relax and loosen up your body while carving. This will help you stay in control and make carving more enjoyable.
- Relax and loosen up your body while carving.
- Avoid being too stiff or tense.
- Let your body flow with the movement of the board.
IV. Additional Tips for Snowboard Carving
Additional Tips for Snowboard Carving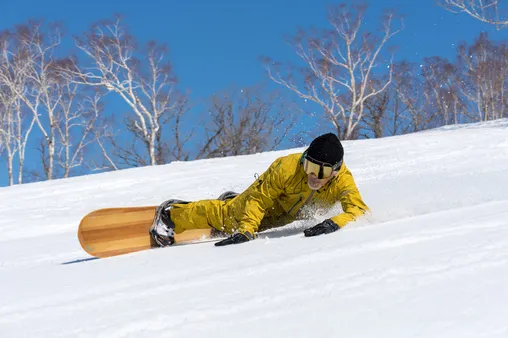
To further enhance your carving skills, consider these additional tips:
- Focus on the Grip Before Executing A Carve: Ensure your bindings are tight and your boots are properly secured to the board. A solid grip will provide better control and stability during the carve.
- Don’t Be Afraid Of Leaning Into The Slope: As you initiate the carve, commit to the movement and lean into the slope. This will help you maintain your edge and control the direction of the carve.
- Apply Pressure From Edge To Edge: As you transition from one edge to the other, apply pressure evenly to both edges. This will help you maintain balance and control throughout the carve.
- Start With Smaller Carves: If you're a beginner, start with smaller carves and gradually increase the size as you become more comfortable. This will help you build confidence and avoid losing control.
By following these tips and practicing regularly, you'll be carving like a pro in no time. And don't forget to check out our related articles on choosing the right snowboard and the benefits of snowboarding to enhance your overall snowboarding experience.
Mistake | Reason | Solution |
Not picking the best Learning Environment | Choosing a slope that is too steep or icy can make learning to carve difficult and dangerous. | Select a gentle, groomed slope with soft snow for your first attempts at carving. |
Not Working On Basics First | Trying to learn advanced carving techniques without mastering the basics can lead to frustration and injury. | Focus on perfecting your stance, balance, and edge control before attempting more complex maneuvers. |
Trying To Go Fast During Carves | Going too fast can make it difficult to control your board and maintain your edge. | Start slowly and gradually increase your speed as you become more comfortable with carving. |
Applying Pressure On The Wrong Side Of The Board | Applying pressure on the wrong side of the board can cause you to lose control and fall. | Make sure you are applying pressure on the downhill edge of the board when carving. |
Not Loosening Up While Trying To Carve | Being too stiff and tense can make it difficult to move your body and control your board. | Relax your body and let your weight flow naturally through your feet and into the board. |
Remember, practice makes perfect. The more you practice carving, the better you'll become at it. So get out there and start carving up the slopes!
V. Conclusion
With dedication, practice, and the techniques outlined in this guide, you'll be carving like a pro in no time. Remember, the key to mastering carving is to focus on balance, edge control, and body coordination. Start with smaller carves and gradually increase the size and difficulty as you gain confidence. Most importantly, have fun and enjoy the exhilarating feeling of gliding effortlessly through the snow, leaving beautiful arcs in your wake. Whether you're a seasoned snowboarder or just starting out, incorporating carving into your riding repertoire will undoubtedly enhance your overall snowboarding experience.